Team Green....Kawasaki !

NQ1965

PR Elite


I originally intended to post this in the Winter Projects re-re-re-re-revisited thread but while browsing the site on Friday it hit me that we just don't get the number of new threads in the Old Bike section that we used to. So I felt that this one was worthy of a fresh post.

A brief history of me and this bike: Way back when I was 34 this was the very first dirt bike I had bought since I was a teenager. Our kids were all older, and we had hit some financial goals and finally decided it was time. I've never considered selling the bike, and it's still one of my most favorite in the stable.

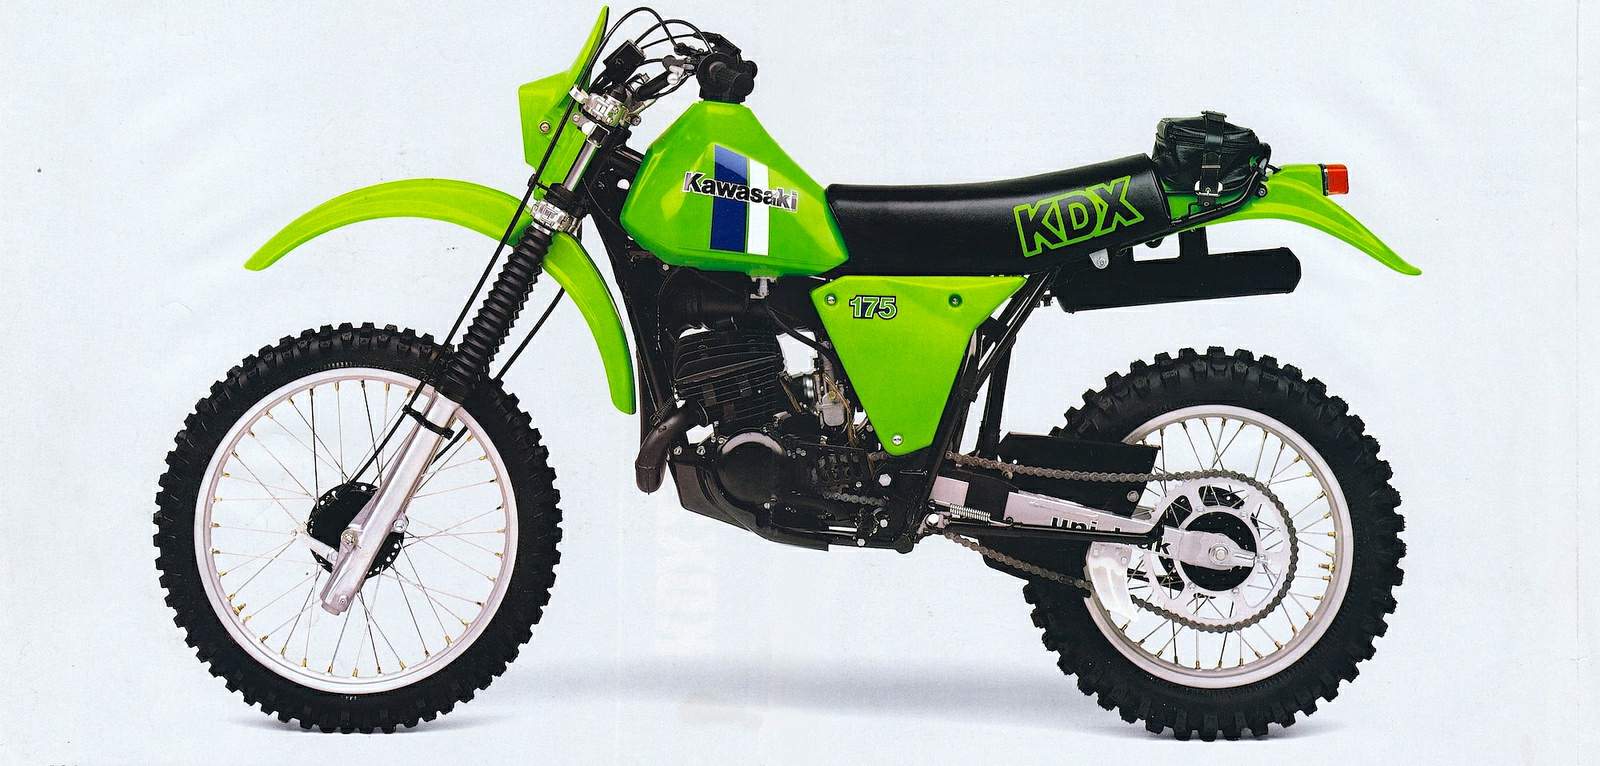
Most of you guys have read numerous postings of me talking about my KDX175 from the Vintage Days posts over the years, so nothing new there. This year it got raced again but rendered me my 1st DNF in the CC race. I knew last year it needed a tear down but couldn't get to it, but now it's time.
It also occurred to me that as far as Vintage/PV/Evolution bikes go, there are very few of us Kawasaki racers on here.

Another thought that I had leading into this is that even though we have a lot of Pitracer members that do rebuild their bikes, they tend to leave out the gritty details and struggles that I love to see and read about. So I've decided to go a little bit in-depth as I tear down and get this bike back together again for the 2018 season.
So here we go.
 
Last edited:
Here's a pic of the bike after returning home from Vintage Days 2016.
IMG_6112.JPG


Hard at Work ... (Race photos credit: AMA Vintage Days Gallery)
7K4A5021-X2.jpg


ZRW19311-X2.jpg
 
Last edited:
You can actually see the main problem with the bike in the bottom pic. She's a heavy smoker.
It took my slow brain some time to realize why this was, but after some deep mechanical thinking it occurred to me. The crank seals are leaking tranny oil into the crankcase.

I'm not exactly sure how many bikes are this way, but on these old Kawasaki's you have to tear engine down and split the cases as the crank seals are pressed in from the inside. Ugh!
 
Last edited:
My humble work area:
IMG_3268.JPG


I actually pulled the motor a couple weeks ago and had it on my bench waiting for an opportunity to dig in.
IMG_3266.JPG


God I love finhead motors.... They are so simple.
I think I'll buy me more. :D
 
Last edited:
.One of the first things that caught my eye was the missing crankcase breather plug in the back... Wonder how long I've been running it like that?
IMG_3271.JPG


Sure is a lot of cleaning to do here.
That is one thing that I have learned is probably where the most time is spent when working on dirt bikes is the really fine detailed cleaning. Especially chasing threads of screws, bolts, nuts, and case's
 
Last edited:
At this point I pulled the right side cover and removed the clutch. Not sure why I didn't snap a pic before I did that?

IMG_3272.JPG


A couple of worthy mentions here for anybody that is new to working on dirt bike engines.

A).. I use a lot of zip ties to hold loose parts together that have to go back together in certain sequence. I also use them to hold screws in place after removing engine covers, particularly if certain screws must be used in certain cover holes. Just stick it in the hole, and cinch the zip tie up on the screw threads.

B)... I use a lot of various size zip lock bags and freezer bags for cleanly storing parts that I removed. Especially if there are loose pieces and parts to the assembly.

C)....Many of the Vets on here likely already know this, but I didn't. When tearing apart engines, most of the parts will only fit together one way, which is a great relief when you are trying to put it all back together.

D).... As you can see... I take lots of pic's for reassembly reference.

E).... Often times special tools are required for certain task. An example here is for breaking loose the crankshaft and clutch hub nuts. They make a tool for holding the clutch basket while you loosen the nuts. But I found another handy trick that works. Stuff a thick rag, like an old sock, between the crank and clutch gears. As you turn on the crank nut it will pull the rag between the gears, but will get tight enough that it jams movement enough the the nut will break loose.

I now need to get the flywheel removed and I don't have the puller for that, so I will be thinking on how I'm gonna get that done. They make so damn many diferent flywheel pullers but sometimes you can simply build your own and still get the job done.

Tomorrow.
 
Internet image of the KDX175 bikes brand new. Sweeeeet!


One thing about me that has always been clear is that my passion for motorcycles began when I was very young. As long as the bike is design for some duty in the dirt and off-road, then I'm a looking and thinking about them. Street bikes, not so much.

When I was a teenager living in the country, two of my neighbor friends had Kawasaki trail bikes, and that had a lot to do with the fact that we had a Kawasaki dealer not 5 miles from us in Heath. So I love them all.
 
There's actually some pretty cool articles on the KDX bikes.
And of course it goes without saying that Jeff Fredette gets a lot of credit for the KDX successful history.


1981-kawasaki-kdx-175-5.jpg
 
Last edited:
Workhorse bike.
Simple but effective.

I'd replace all the seals - all of them.
Bearings as well.
Lap the surfaces too.
How's the bore? Time to freshin up ?
Bet you could clean up the ports and get a bit more zing out of it.
 
I don't think I've heard of lapping bearing surfaces. I'll have to look into that.
All bearings and seals being replaced. I'm not going this far to take any chances or half-assing it.

On the cylinder, I pulled it last spring and checked it with my bore gauge and to my surprise it was still in spec to the book. She got a new piston and rings to get through the summer.
I was really surprised on the cylinder. The cylinders are nikasil and I had it replated once years ago. I'll just have to check it again to see if it's any closer to needing it done again. Although I never gave it a thought about performance improvements such as porting.

The bike is in need of some performance improvements. A lot on the list.
 
Lap the sealing surfaces - center case's. Push them around on a surface plate with some diamond paste.
Just a quick hit to clean off any old gasket, burs & nicks and bring any warp issue to light.

Check the crank where the seals rub - is it worn?

Use OEM seals & bearings if you can - !!
 
Nikasil still on the walls - then it's good to go.

Take a pic of the jug - show some of the ports - I'm curious how much performance is in there.
 
I will have to find somewhere to have a few things done. The book gives spec measurements for checking the crank trueness but I don't have the blocks for it. The rod feels ok but also want to be sure on that. And again on using a surface plate work. Were into machine shop work here.

Real good point on the seal contact point as well. It's always amazed me how a rubber seal can wear a groove around a steal shaft. I'll know more once I get cases split.
 
I just did a quick search and it looks like you can purchase a machinist surface plates pretty reasonably.
Usually every time I do a job I end up buying needed tools to get the work done. Time to build my shopping list.

Considering how often 2 stroke heads need checked for trueness, makes a surface plate a worthwhile purchase.
I'll try to get my cylinder pic's posted up later tonight.
 
Back
Top